Which ever branch of our great sport we choose to explore, be that hunting, plinking, or competition shooting, the same basic preparation needs to be carried out in order to get the best results. Knowing where our gun shoots at a variety of distances down range, is fairly vital in this regard, so it’s that fundamental task of ‘plotting trajectory’, that we’ll be covering in this and the follow up blog.
Gravity
For experienced shots, it’s easy to take various elements of shooting for granted, but for any newcomer, there’s a wealth of theory with which to get to grips, and trajectory is one such topic which requires focus.
Basic physics dictates that gravity will have an effect on our projectile, and as the pellet loses energy over it’s flight, it will drop away and deviate from the point of zero, to a greater or lesser degree, dependent upon several variables. Velocity, pellet weight, and distance of the target, are just some of those variables, that will influence trajectory, and as with many factors of shooting, it can all seem bewildering at the start.
Chosen Discipline?
High mounts increase the height of the sight line above the barrel, and low mounts obviously reduce this, but the pros and cons of using each, are a complex subject in themselves; and perhaps one for another day.
Suffice to say that Field Target shooters often set up using high mounts, as this can give them an advantage on longer targets, by closing up their range markings. But for the purposes of this blog, we’ll assume a .177 calibre rifle, that’s already been zeroed with medium mounts at 35yards.
At this stage, with a pre-zeroed rifle, the task is much the same – namely to plot the trajectory, effectively to learn exactly where the pellet’s point of impact falls at each distance down range.
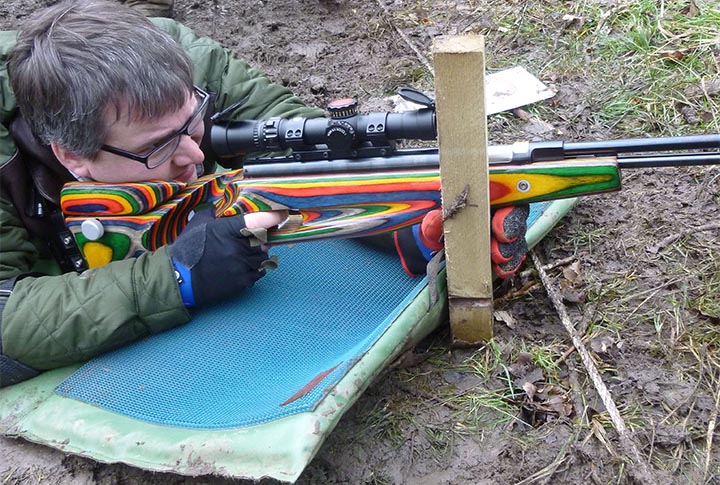
Still Air?
Now for this task, it’s vital we get a super calm, wind free day if shooting outdoors, and whilst indoor ranges are becoming more popular, if you have permission to shoot on a piece of land, or a club ground, then wait for the right conditions. That way, results will be true and unspoilt by any wild wind. If you shoot at the club, then try and pick a quiet day with minimal interruption, as the process does require periodic walking up the range to check results, and it’s just easier with less people around.
The Process
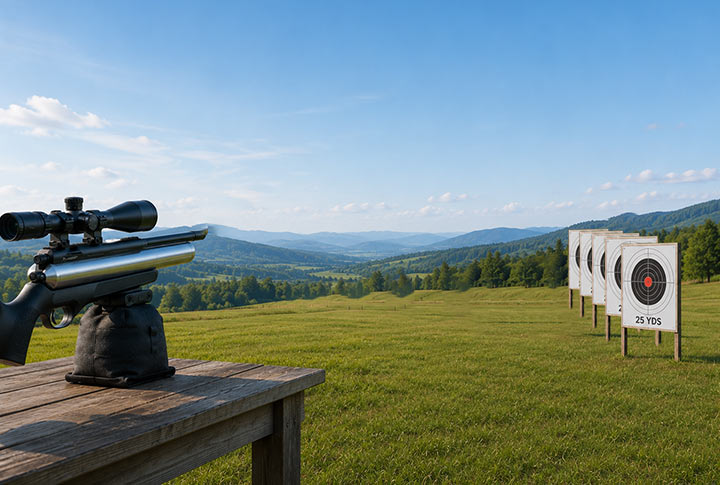
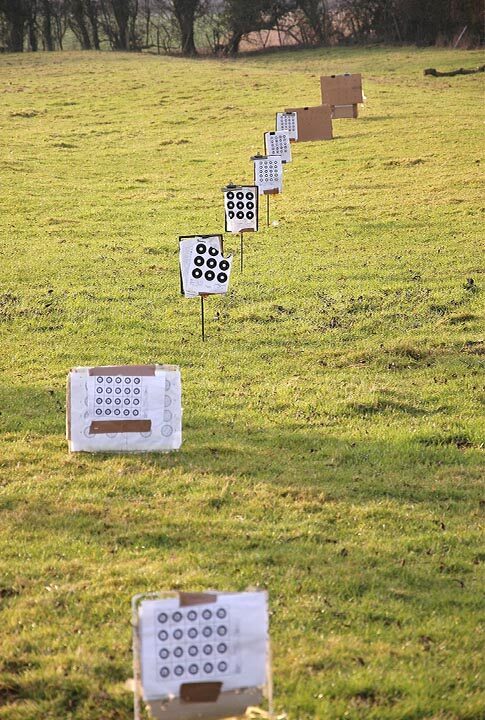
Now the aim is to place a series of target boards down range at each distance, from 8yds, then 10yds, and then 5yard intervals thereafter, right up to 55yards. (or further is you feel the need) This covers target distances required for HFT and Field Target, but the results are all equally applicable for hunting and 12ft/lbs airgun shooting across the board. The aim will be to fire a few shots at each target distance, and gauge the impact points.
Yes it’s true that various ballistic software packages exist these days, and yes, you can get a good idea of what a rifle/ pellet combination is capable of, without leaving the house! But speak to any shooter that takes their sport seriously, and there really is no substitute for putting in the time outside, on the range, to gauge exactly what’s happening in the real world! Airguns can be quirky, and you need to see for yourself what a particular gun is doing.
Target Design
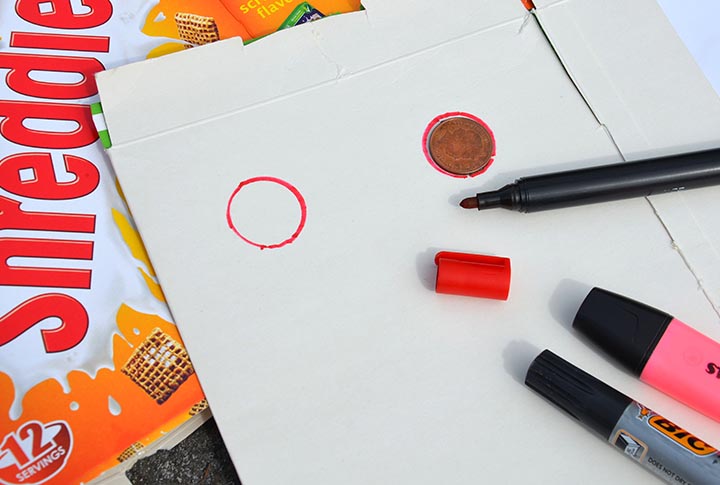
As for the targets themselves, for this very specific basic assignment, forget about elaborate target designs, as all we want is to be able to see the shots as clearly and as easily as possible. Ideally, just use some white card (cereal packets make perfect target boards), and draw round a coin with a light coloured marker. Red seems to work well, and ideally you just want the shots to be easily visible from the firing line.
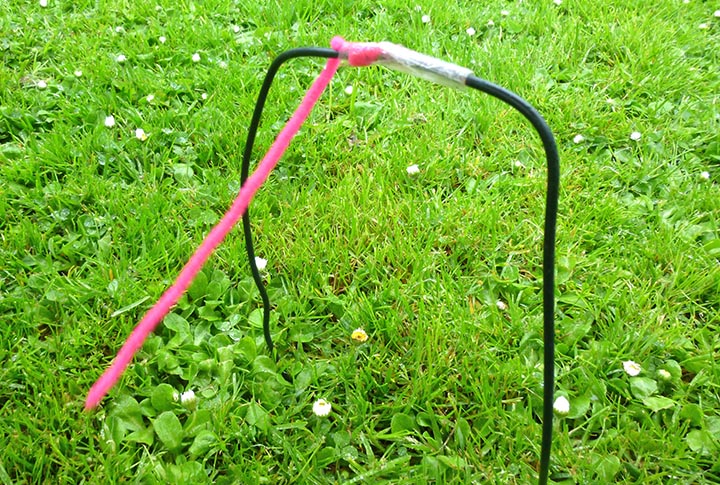
So we now have our target boards set at each distance, and before we start, it pays to have some type of wind indicator set up down range, and this allows us to calmly take shots during the lulls in the wind.
A simple loop of wire with a piece of wool hanging will suffice, however, as mentioned, this whole process will benefit from taking place on a near wind free day in the first place.
As always, safety is a priority, so stating the obvious, unless shooting at an official club ground, ensure a fool proof back stop is in place, or that you know it’s a safe background before starting.
In the second part of this trajectory plotting exercise, we’ll complete the task, and then finally see what we can do with all the information we’ve gathered.
Until next week, happy shooting!
Range & Country