Fitting a scope to an air rifle may seem like a simple task, but as with most things in life, there are a few good pointers that are worth knowing, in order to get the job done properly. So that’s what we’ve put together here in this blog.
Quality
Our first basic tip is to buy the best quality scope mounts you can afford. Companies like Sportsmatch have a reputation for a reason, and their precision manufactured components can make a difference to the integrity of the setup. Cheap bargain basement mounts can be fine for a plinking rifle, but what’s the point in spending significant money on a quality gun, only to scrimp on the final piece of the jigsaw?
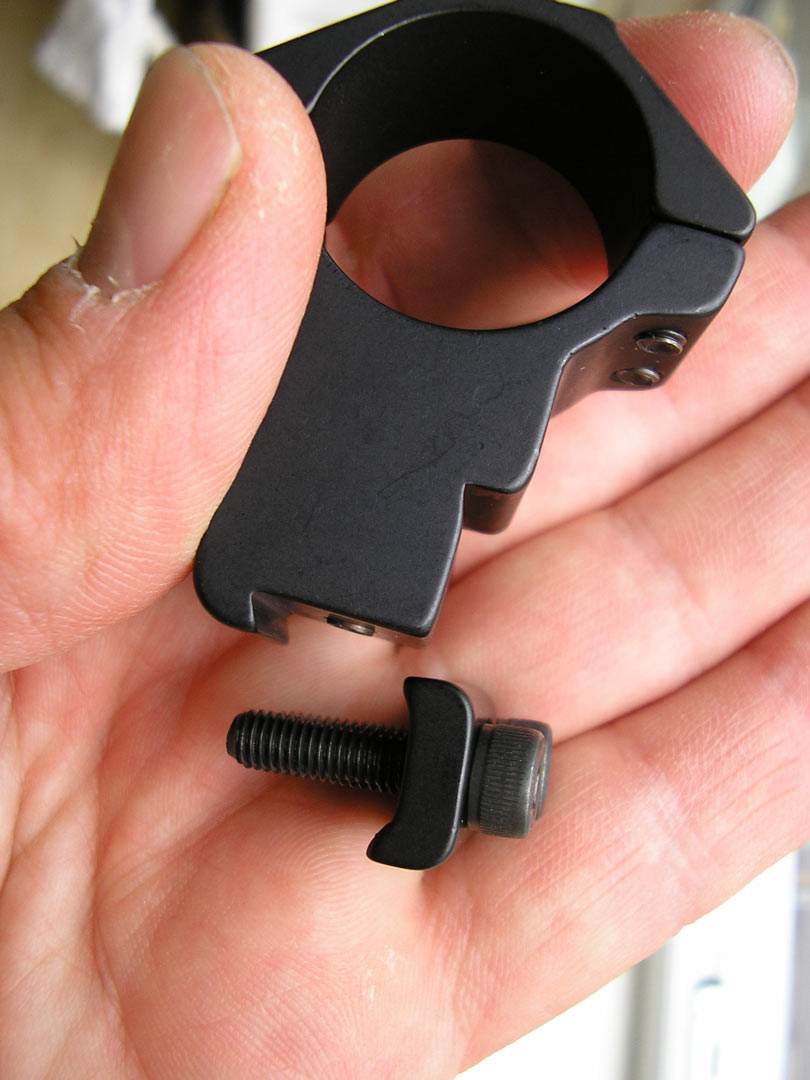
Padded inserts inside the mount rings are unnecessary, even irritating given the glue used, so are best avoided.
Picatinny?
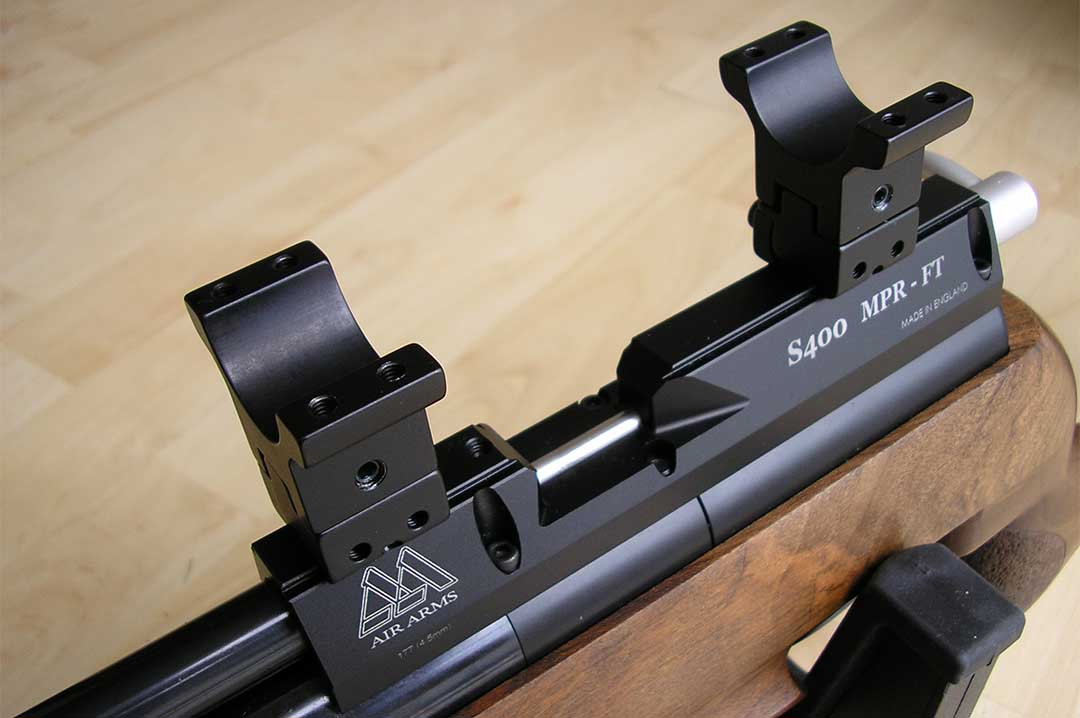
Many modern air rifles now feature picatinny rails and that means using picatinny mounts. This design sees the mount literally lock into the rail via its cross-bar design- so it can’t move. However, conventional dovetail rails require more attention to detail.
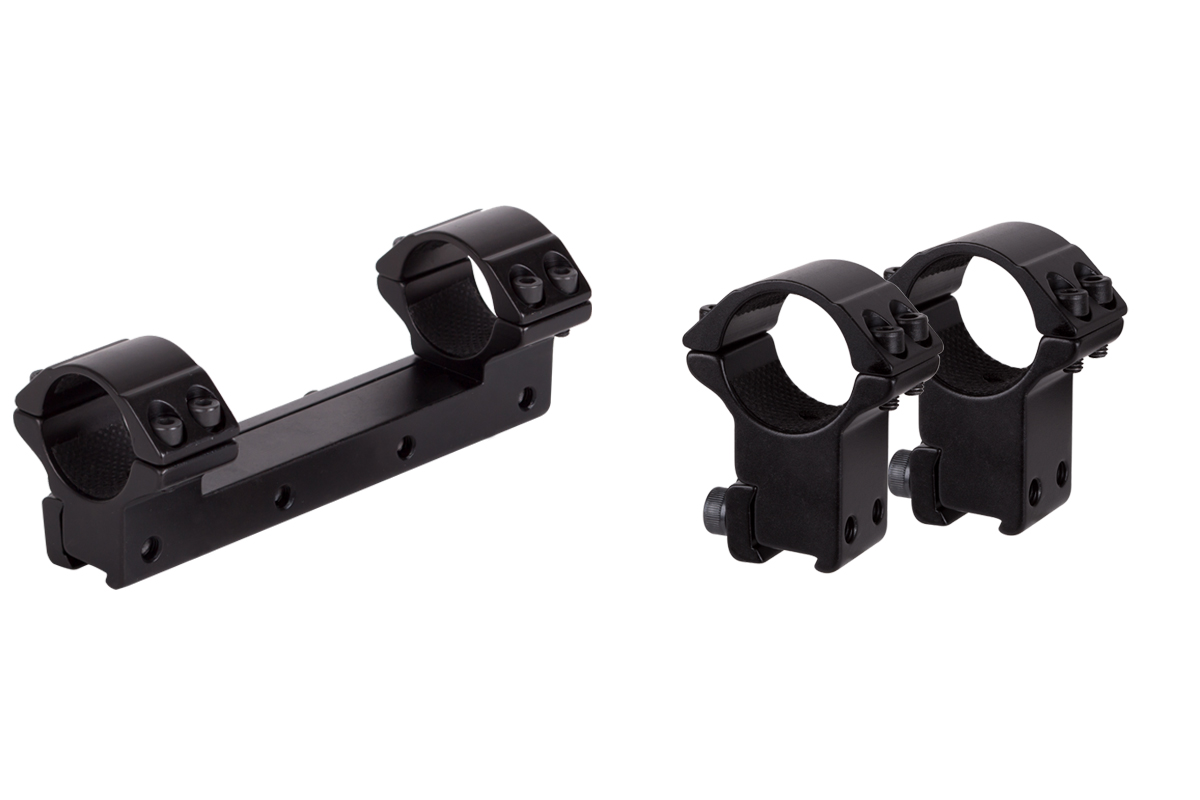
Dovetail Style Two-Piece or One-Piece?
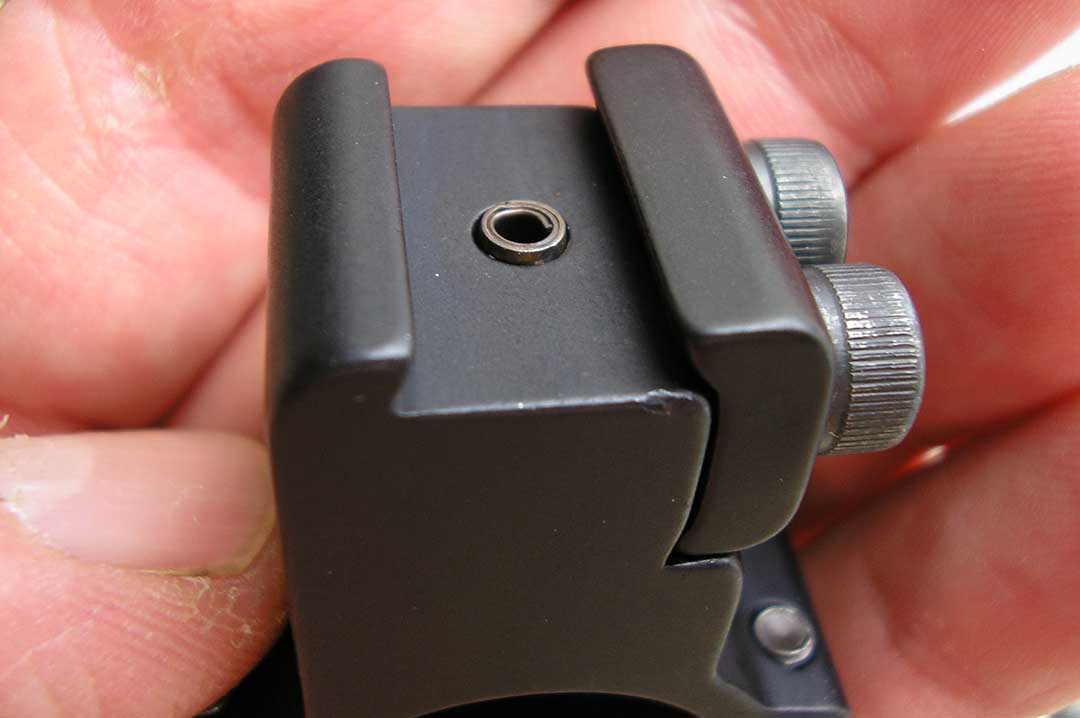
If mounting to a PCP, then two-piece mounts (2 separate rings) are fine. However, if mounting on a springer/ gas-ram, the recoil has to be born in mind. Some mounts are fitted with an arrestor stud, and this is wound in or out either using an allen key, or hammer and punch, depending upon the design. The stud locates into a hole on the gun’s receiver, and this stops the scope and mount moving. There are alternatives with a springer- still using two-piece mounts, but clamping a small arrestor block on the rails behind one of the mounts. And the belts and braces approach is of course the one-piece mount, which combats scope movement (creep) via its much greater contact area on the rails.
Adjustable or Non-Adjustable?
Some competition shooters favour what’s called centring the optics before zeroing, and this often necessitates the use of adjustable mounts. Mounts that are adjustable solely for height, keep things less complicated, and are perfectly sufficient in most cases.
Preparation
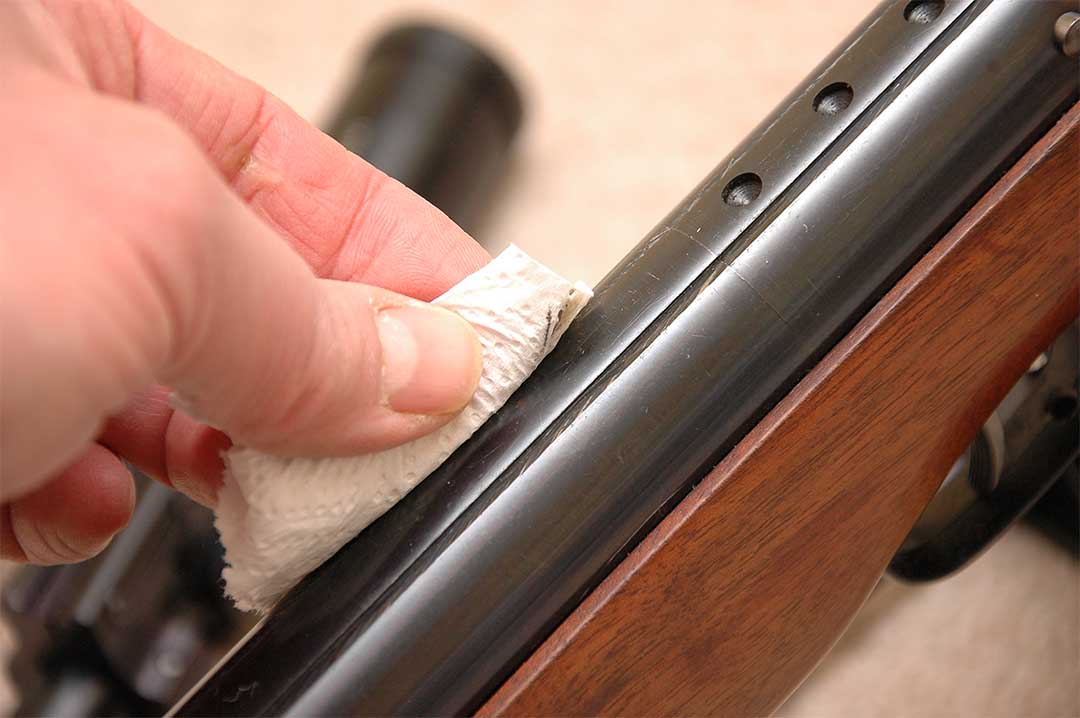
If mounting a scope to a springer/ gas-ram, as mentioned, recoil can be the problem, so it pays to de-grease the gun’s rails with a gentle de-greaser and cloth. That said, just using a tissue to remove any excess oil in the grooves can be sufficient. This will give the mounts that bit more purchase under recoil.
Reversible Bases
Getting a good true fit between the mount base and a particular gun’s scope rail, is important, and it’s worth knowing that several makes of mount have reversible mount bases. Just unscrew the base, switch it round and it may well offer a different profile, which might fit the rail that bit more snugly. It’s stating the obvious, but if using two piece mounts, make the same change to both mounts.
The Mounting Process
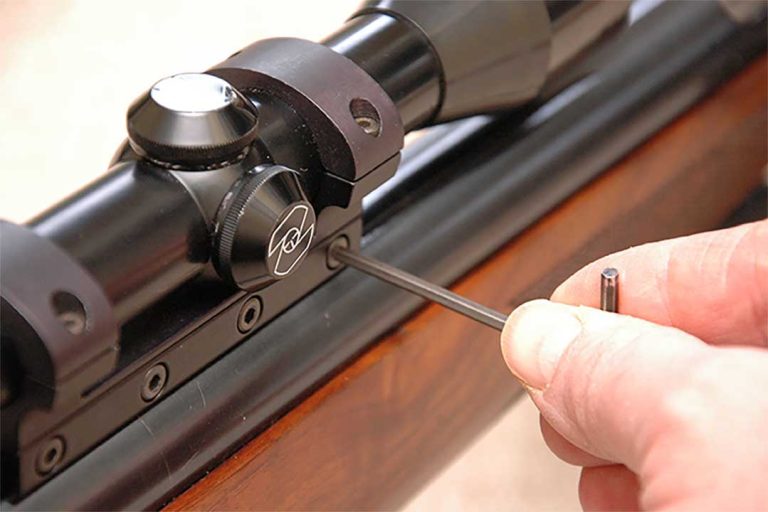
So we’ve decided on our particular mounts. Ideally sit the rifle on a gun stand, or failing that, have it safely sat in a beanbag or cushion upright. Now slacken off the screws in the mount’s base and hand tighten the mount (one piece or two piece) onto the gun’s rail, in roughly the right position. Now using the small end of the allen key, to prevent over-tightening, nip up screws alternately until fairly tight.
Unscrew the tops of the mounts and remove the tops. Gently sit the scope inside the open rings. Replace the tops and screws and nip up each screw alternately as if doing up a car wheel- top left bottom right, etc, until there is some resistance between scope and mount, but the scope can still move. Now assume your main shooting position, and gently slide the scope until it seems in roughly the right position to achieve a full sight picture. It maybe necessary to slacken and move the base too, then hand tighten again so the mounts wont easily move or fall off!
Mounting Blind
The classic test at this stage is to close the eyes, mount the rifle , then open them, and you should see a full picture. Keep making small adjustments and repeating the test until happy. The idea is to achieve a full sight picture naturally with no muscle straining. This is effectively setting the correct eye-relief, and can be done in conjunction with any adjustable elements of the gun’s stock- i.e if it features an adjustable cheek piece and butt section/pad for example. At this point properly tighten the mount base screws, again, alternately to spread the pressure.
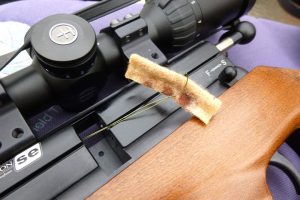
Plum Line
The final detail is to get the scope’s cross-hairs exactly vertical, in relation to the rifle, and whilst this can be done perfectly by eye (with experience), some shooters favour using a ‘plum line’- literally having a weight hanging on a cord/rope, set up down range, which can then be viewed through the scope. Again, the gun needs to be held perfectly upright, and here a small spirit level could help (they’re even allowed in Field Target shooting). From this stable position, view the reticle against the plum line and rotate the scope until the two correlate. Now we can gently tighten up the tops of the mounts, again working across on alternate screws, until all is tight.
We now have a near as damn it perfectly positioned scope, and we’re ready for the zeroing process?
Need help with that? Don’t worry that’s all coming in a future blog.
Range & Country