What do we mean by ‘Zero’?
Let’s start with the basics; to ‘Zero’ a scope, means to adjust the lens mechanism so that the impact point of the shot falls exactly behind the centre of the cross hair, or reticle. At this point, we need to decide at which distance we want to set the zero.
What Distance?
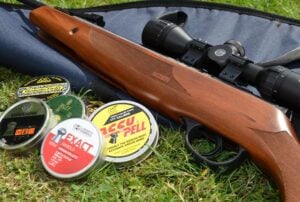
If we plan on informal target shooting and plinking down a club range and that range happens to be about 25 yards, let’s stick to that, but if we are planning on hunting or competition shooting, then this may call for a different distance. Zeroing for FT shooting is more academic, since competitors are allowed to use the scope to range-find distances. Calibre and chosen pellet weight can also dictate the distance, and with experience, some tinkering can come into the equation. But for most applications, a 25yard zero is a sensible midpoint, and a good place to start.
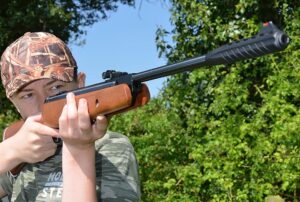
Stable Position
Whatever the decision, setting an accurate zero is vital since everything stems from this. So it makes sense to adopt an ultra stable shooting position, to minimize human error. This is easier with a recoilless PCP as it can be rested on a beanbag or range bags or a stable gun rest, but where spring-piston and gas-ram powered airguns are concerned, more care is needed to take into account the recoiling action. Spring guns often shoot best when gently supported, and not rested on a hard surface, and a consistent hold is vital. Just changing shooting position can alter the impact point too, so this all needs to be allowed for.
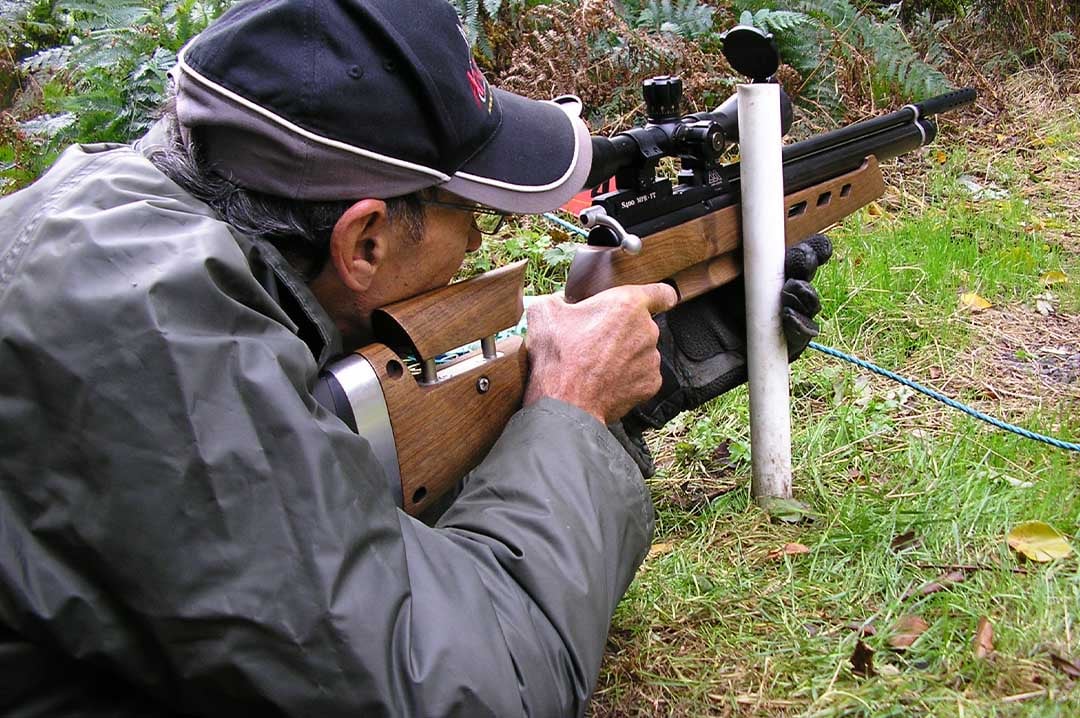

Sitting at a range off a bench is all very stable, but if the end goal is to shoot Hunter Field Target for example, then ideally, the scope should be zeroed from the main position which will be adopted- in HFT that’s the prone position. Get down and comfortable, use the ‘peg’ post (HFT style) as a support, or a beanbag, but by adopting this low position, the head will be in the right place as it would for a competition.
Clear Target
Now assuming we’re shooting in a safe place, with a solid pellet catcher and backstop all set up, it’s time to get started. If shooting outdoors, try and pick a calm day with little to no wind, for true results. Complicated ‘busy’ targets down-range can make it awkward to spot shots, so keep things clear and simple, where shots can easily be seen. A sheet of white card, and a felt pen dot is hard to beat.

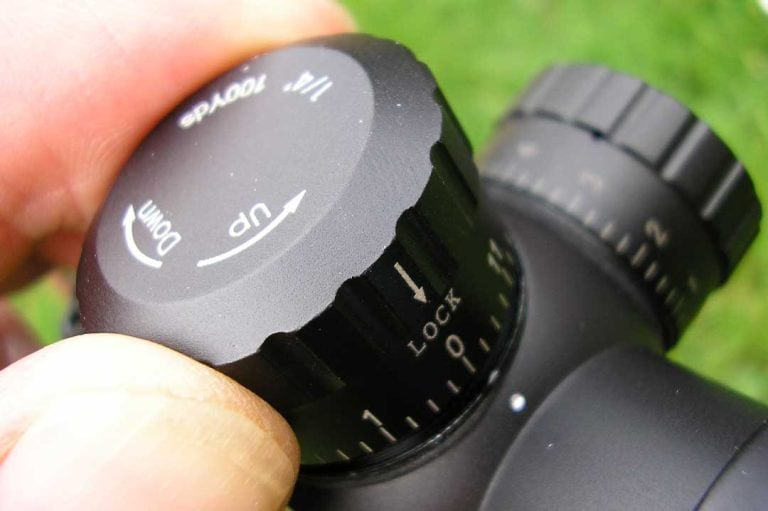
Turrets
Scope turret design varies from one make to another, but adjustment is fairly straight forward. If the turrets are concealed, unscrew both caps and keep somewhere safe. Many modern turrets feature the push/pull locking system, and if these are fitted, just pull the turret up which unlocks the mechanism. Some turrets have a slot and need a screwdriver or coin to adjust, and some are finger friendly with a raised ridge.
Start with the side turret which adjusts windage, and this should be marked with small arrows signifying direction, L & R. We are altering the point of impact (POI) here. Turning the turret clockwise should in theory make the POI go left, and anti-clockwise right, but some scopes use an opposite system.
Now we need to consider the click values of the scope. Many are marked ‘1/4inch at 100yds’, so this would need four clicks to move the POI ¼ inch over 25yds. Many scopes use MOA (minute of angle) and this is near as damn it the same measurement. For scopes that use 1/10 MIL this equates to 1cm @100yds. So again, four clicks will move POI 1cm @25yds.


Getting Started
To keep things simple, let’s say we’re zeroing at 25yds and our scope’s click value is ‘1/4inch at 100yds’. Fire at least three shots at the target to get an average and discount any obvious wobbled shot. If shots initially can’t be seen, they may be some way off, so it will be necessary to either use a larger sheet of card to catch the shots, or move to an ultra close distance- around 6yards away, so shots at least hit the paper. (again consider safety and the backstop here. In this scenario, turn the turret a whole revolution each time to get the shot at least close, then move back to 25yds when they are close.
At 25yards, if the shots land say two inches to the right, then we need to adjust the turret to move the POI a corresponding amount to the left, probably marked with an arrow towards L, 16 clicks would equal an inch, (and one complete revolution for fast dialling), so we need to move the turret 32 clicks or two revolutions.
Now fire three more shots and repeat the process for the elevation turret. If shots hit 2.5 inches low, then dial the turret ‘up’ (in the direction of the U arrow, probably anti-clockwise) 40 clicks (16 clicks x 2.5) (2.5 revolutions). Any subsequent shots can be corrected in proportion to those initial adjustments, and can be fine tweaked as necessary until shots hit spot-on.
Remember, don’t chase the shots, just aim bang on each time. Once the zero is set, some scope turrets are designed for the caps to be removed with an allen key and reset at point `0` on the scale. Thereafter, this point can be returned to easily, if the scope has been dialled for other distances at any point.
We now have a zeroed scope, and are ready to explore trajectories and beyond.
Range & Country